A Step-by-Step Guide to Converting Your Pool into a Pond
Thinking about turning that empty swimming pool into a lively pond? Changing a pool into a pond can bring beauty, calm, and a home for local wildlife to your yard. It’s a big project, but you can create a lovely and self-supporting pond with careful steps. Follow this guide for the key steps, from planning to planting and adding wildlife.
First planning is an essential part. Think about the pond’s size and shape inside the pool. You also need to plan for different depths like shallow for edge plants, deep for fish hideaways. Check your area’s climate and choose plants and fish that fit. A good filter is needed to keep the water clean. A pond drum filter is handy for removing waste. Talk to pond experts for advice; That Pond Guy is known for its great pond design and setup. Check the spots for power outlets for pumps and lights. Know local rules about building ponds.
Step 1: Draining and Cleaning the Pool
Start by emptying the pool. Use a strong pump for the water. Once dry, clean the pool surface well. Remove dirt, algae, and chemical traces. A pressure washer helps here. Clear any chlorine as it harms pond life. You may need to use a chlorine remover.
Step 2: Changing the Pool Structure (Optional)
You might change the pool’s shape. This includes adding shelves for plants, creating water levels, or breaking the pool’s form. Rocks and boulders can make it look natural and give fish places to hide. Use safe materials that are not harmful to water life.
Step 3: Setting the Liner and Underlayer
Leaving the pool base is fine, but adding a liner and underlayer is wise. The underlayer stops sharp things from cutting the liner, and the liner keeps water in. Get a strong, fish-safe liner like EPDM rubber and put it in step by step. Make sure it extends past the pool edge for anchoring and looks.
Step 4: Installing the Filter and Plumbing
A good filter is vital for pond health. Pick one that fits pond size and fish types. This includes a mechanical filter (like a skimmer), a biological filter (for bacteria to break waste), and a pump for water movement. Install plumbing and electric parts per guide and ensure all links are tight.
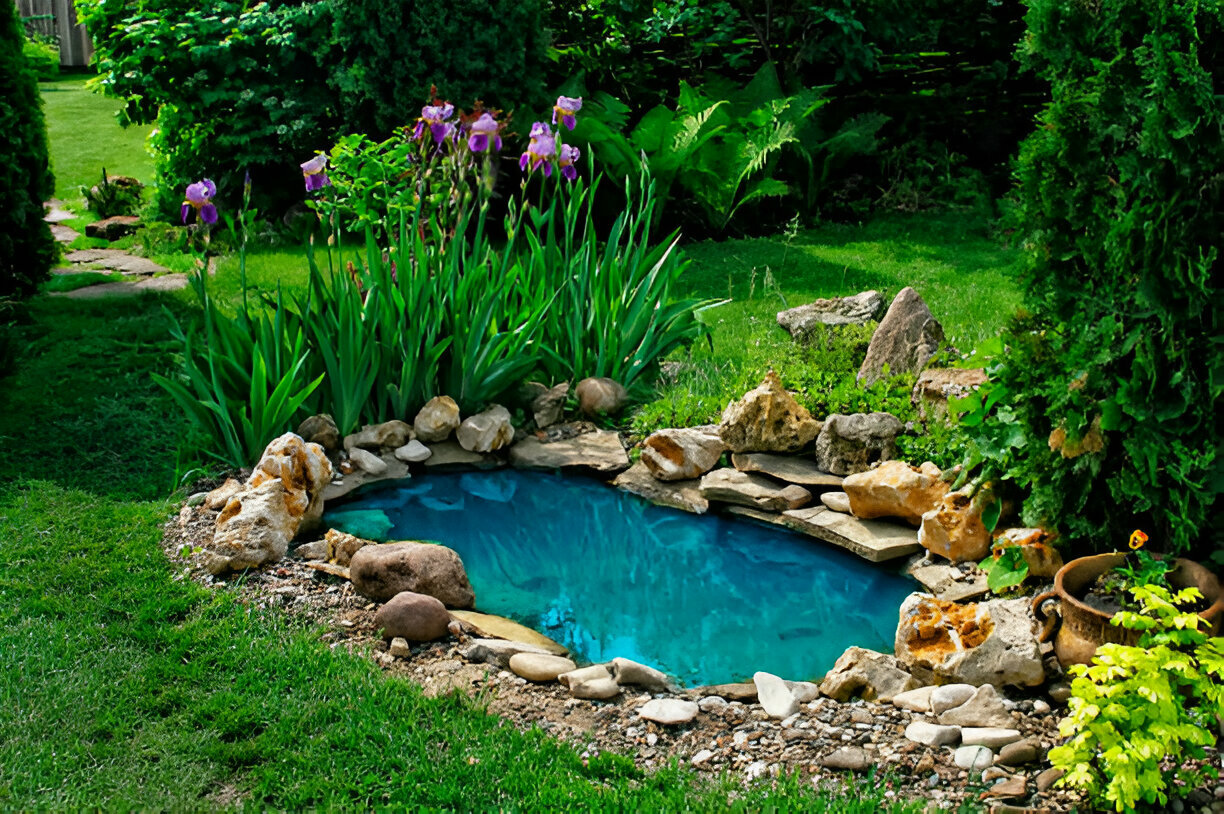
Step 5: Adding Rocks, Gravel, and Bottom Layer
After the liner and filter are set, the natural pond is formed. Put rocks, gravel, and a bottom layer. This offers bacteria a place to grow and cleans water. Pick pond-safe materials without harmful chemicals. Arrange them for a real look.
Step 6: Adding Water Plants
Water plants are key for a healthy and pretty pond. They give oxygen, clean water, and shelter for fish and wildlife. Choose mixed plants—submerged, edge, and floating. Plant them where they grow best. Use pots and soil made for pond plants.
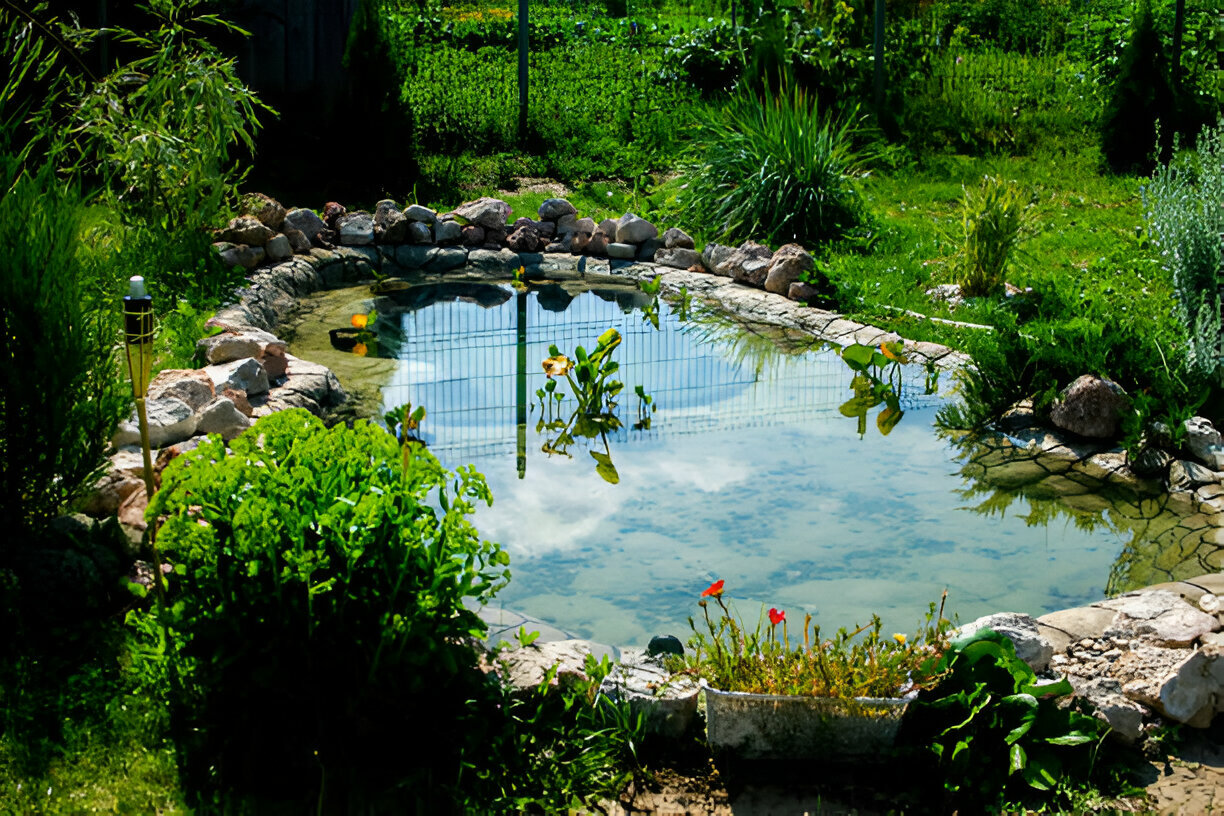
Step 7: Filling the Pond and Cycling Water
When done, slowly fill the pond. Skip tap water due to chlorine that harms pond life. Use a chlorine remover if needed. Let the pond cycle for weeks before adding fish, letting good bacteria grow and balance.
Step 8: Adding Fish and Wildlife (Gradually!)
After cycling, start adding fish and wildlife. Begin with a few fish, and add more over time. Pick fish that are friendly to each other and the pond. Check the pond’s water often and adjust as needed.
By following these steps, turn your unused pool into a lively, pretty pond, bringing nature to your yard. Enjoy the calm and beauty of your new water home!