Easy ways to make ROMAN BLINDS:
Choose the perfect fabric for your room, then follow our simple step-by-step instructions to create your own Roman blind for your window
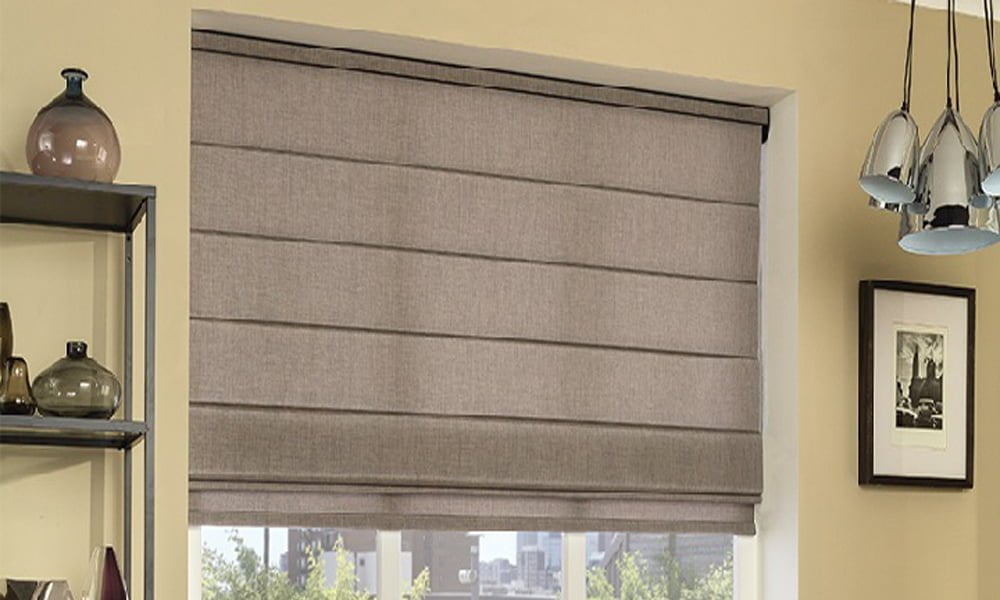
A classic Roman blinds is a simple but beautiful way to decorate a window. Roman blinds offer a smart and highly practical solution to blocking out the sun’s rays while adding color and pattern to your window dressing – a great way to enhance your stylish curtain ideas.
The difference between a blind and a Roman blinds is in the way it is opened. Unlike a blind that, as the name suggests, pulls down, a Roman blind folds gently layer by layer. The design is stacked rather than rolled and offers a more polished finish with a raised blind. Our design uses lining fabrics, rings, eyelets, and dowels for a sleek, professional look.
Check out our step-by-step guide to making your Roman blinds:
Wooden slats for the width of the blinds, The length of the self-adhesive hook and the sewn loop to the width of the batten, Main fabric, Lining, Matching thread, Lengths of narrow wooden pegs, a width of the finished blind minus, Decorative hem or braid (optional), Plastic rings, Screw eyes, Wooden blind, possibly lacquered, lengths of cord, each the width of the finished blind plus twice the length, Wall mounting
How to make a Roman blind:
- Fix the support structure of the blind: Attach the molding above the window frame and push the self-adhesive hook along the front of the molding.
- Determine the size of the blind: Measure from the top of the batten to the desired finished drop and add the required (cm) each for the top and bottom hem. For the width, measure the length of the batten and add these (cm) for each side seam. Cut the main and lining fabrics to these measurements.
- Pull the blind: Lay the main fabric right side up on a flat surface. Place the lining fabric on top so that the raw edges are flush all the way around. Pin around and then sew the side and bottom edges together to create a seam. Remove the pins.
- Create dowel pockets: To create a dowel pocket along the bottom edge, sew the second row of stitch (mm) from the raw edge. Insert the dowel. Trim the seam allowances and turn and press.
- Create folds: Place the blind on top and measure 5cm from the top of the blind. Mark with a pencil across the width of the blind. Divide the remaining length of the roller blind into folds, which you end with a half fold at the bottom. Mark each part with a pencil as before.
- Create dowel attachment pockets on each of the folds: Cut strips of lining fabric the width of the blind for each pencil mark. Fold each strip in half lengthwise and sew along the long raw edge and one end, leaving a seam. Turn and press. Center the pockets along the pencil lines and pin them in place. Machine stitch each long edge in all thicknesses, being careful not to crease the fabric.
- Fasten the dowels in place: Insert the dowels into the pockets, turn under the remaining raw edges on the pockets and tuck in stitches to hold the dowels in place.
- Add plastic rings: Mark the center of the blind on each pocket and sew a plastic ring in place. Repeat cm in from each side edge of the blind on each pocket .
- Make the top hem: Turn the raw edges of the main fabric and the lining fabric to the back of the blind by cm, press, and glue. Sew the stitched loop in place just next to the fold.
- Trim your blind: Cut a length of hem or braid to the width of the blind and tuck the stitch into place along the bottom edge. Hang the blind from the batten.
- Attach the eyelets: Screw the eyelets onto the underside of the slat so that each one lines up with each row of plastic rings on the blind. Screw the fourth eye to the edge of the slat, where the cords will fall and from where the blind will be controlled.
- Connect and tighten the cables: Tie each length of cord to each of the three rings on the lowest fold. Then thread each length of cord through each of the rings above it and the eyelets, finishing on the working side of the batten. Cut the cords to the appropriate length and attach the roman blind puller. Attach the clip to the wall and use it to secure the cords.